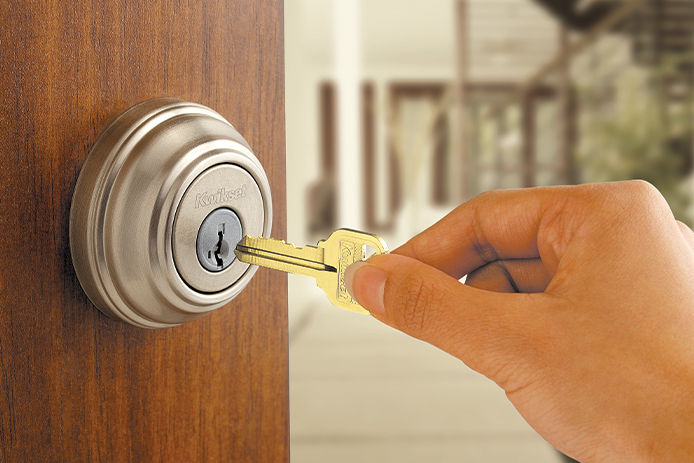
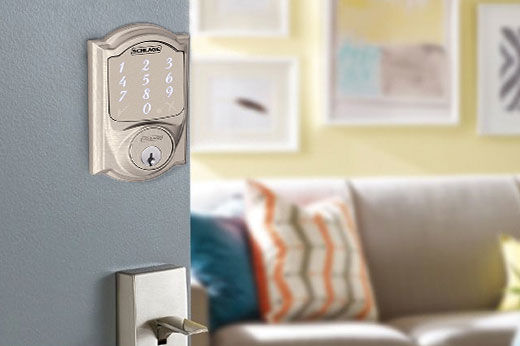
Skip to Main Content
Back to Navigation

How to Install a Doorknob and Lock

Person putting a new doorknock and lock on interior door

Whether you're looking to upgrade your home’s security, or you're tired of looking at an outdated doorknob, you can install a new set of hardware for a quick way to upgrade a functional piece of your home.

The good news is that installing a doorknob and lock doesn’t require a degree in engineering. In fact, modern doorknobs and locks are designed to be quickly and easily installed into place, without much hassle.

Once you have shopped for your new set, it’s time to get to work installing the hardware. Check out the following quick tips for how to install a standard doorknob and lock.

Tools and Materials Needed

A tape measure, screws, and screwdriver on a wood table

The first thing to do when you start any do-it-yourself job is to gather the tools and materials. For the installation of a doorknob and lock, you’ll only need a couple of common items.

  • Screwdriver: Choose the right screwdriver based on the types of screws in place on your existing doorknob. Usually, a Phillips-head screwdriver will do the trick.
  • Tape measure: You will need to measure the existing space for the new set you purchase, and a tape measure will allow for accuracy.

Once you’ve gathered these tools, follow the next steps to install the entire kit.

1. Remove the Existing Doorknob and Lock

Removing the old doorknob from a door

Before a new doorknob can be put into place, you’ll need to remove the existing set. Utilizing your screwdriver, remove the screws holding in your doorknobs and the latch plate in place. Once the screws have been removed, gently pull the knobs apart. After this, you can remove the latch and the exterior latch plate.

If you are also replacing the deadbolt, unscrew that piece as well. In many cases, the screws for your deadbolt will be behind a plate. To remove this plate, you’ll need to remove the thumb-turn latch first. Look for the shaft that connects the thumb-turn to the inside of the lock. A small pinhole should be located on this shaft. With a paper clip or other similar item, simply press the pinhole to release the lever. Once the lever is removed, utilize your screwdriver to carefully pry the cover plate off the deadbolt. This will expose the screws, allowing you to remove the entire deadbolt lock.

2. Measure the Hole

Person measuring door handle with gloves on

If you haven’t already purchased a replacement set, grab your tape measure and take down measurements of the leftover hole. Measure from the center of the big hole to the edge of the door. This is called the backset, and measuring it will help you choose the right replacement set. Be sure to take measurements for both the door handle and the deadbolt if you are replacing both at the same time.

Installing a new doorknob and lock set is the perfect way to upgrade the aesthetics and security of your home. With a few quick steps, you can tackle this DIY project.

test

Different Types of Nails and How to Use Them

Learn more about the different sizes and options available for your next project

Learn more
test

Different Types of Screws And Their Uses

Identify these different types of fasteners and learn when to use them all

Learn more
test

How to Remove a Stripped Screw

Simple tips and tricks to get rid of stubborn, stuck fasteners!

Learn more
test

Schlage Keyless Deadbolts Buying Guide

Check out these four simple ways to access your home without a key

Learn more
test

How to Install a Mailbox: Step-by-step & Tips

Looking to install a new post and mailbox today? Learn how to save money and do it yourself with Do it Best’s step-by-step guide along with helpful tips!

Learn more